Installing a shower pan in Glen Rose, TX is the step that decides whether your new shower lasts twenty years or starts leaking into the subfloor within one. Get the slope, the drain fitting, or the leveling wrong, and you won't find out until there's a soft spot in the floor or a stain on the ceiling below. This guide walks through every step in order, what it costs, and the point where it's smarter to hand the job to a licensed plumber.
What Is a Shower Pan?
A shower pan is the waterproof base that sits at the bottom of a shower stall and channels water toward the drain instead of letting it seep into the subfloor. It's distinct from a shower base, which refers to the full support structure underneath, including framing and mortar.
Many homes in Glen Rose and the surrounding Hill Country sit on slab foundations or carry original plywood subfloors that have had decades to shift and settle. That means subfloor condition deserves extra attention here before any pan goes in.
Shower pans generally come in three styles:
- Preformed shower pan (usually acrylic or fiberglass): arrives ready to drop in place with the least labor.
- Tile-ready shower pan: has a foam or PVC core designed to accept tile directly.
- Custom shower pan: built from a mortar bed on-site, giving the most flexibility for odd-shaped stalls but taking longer to install.
Choosing the right type shapes almost every step that follows.
Tools and Materials You'll Need
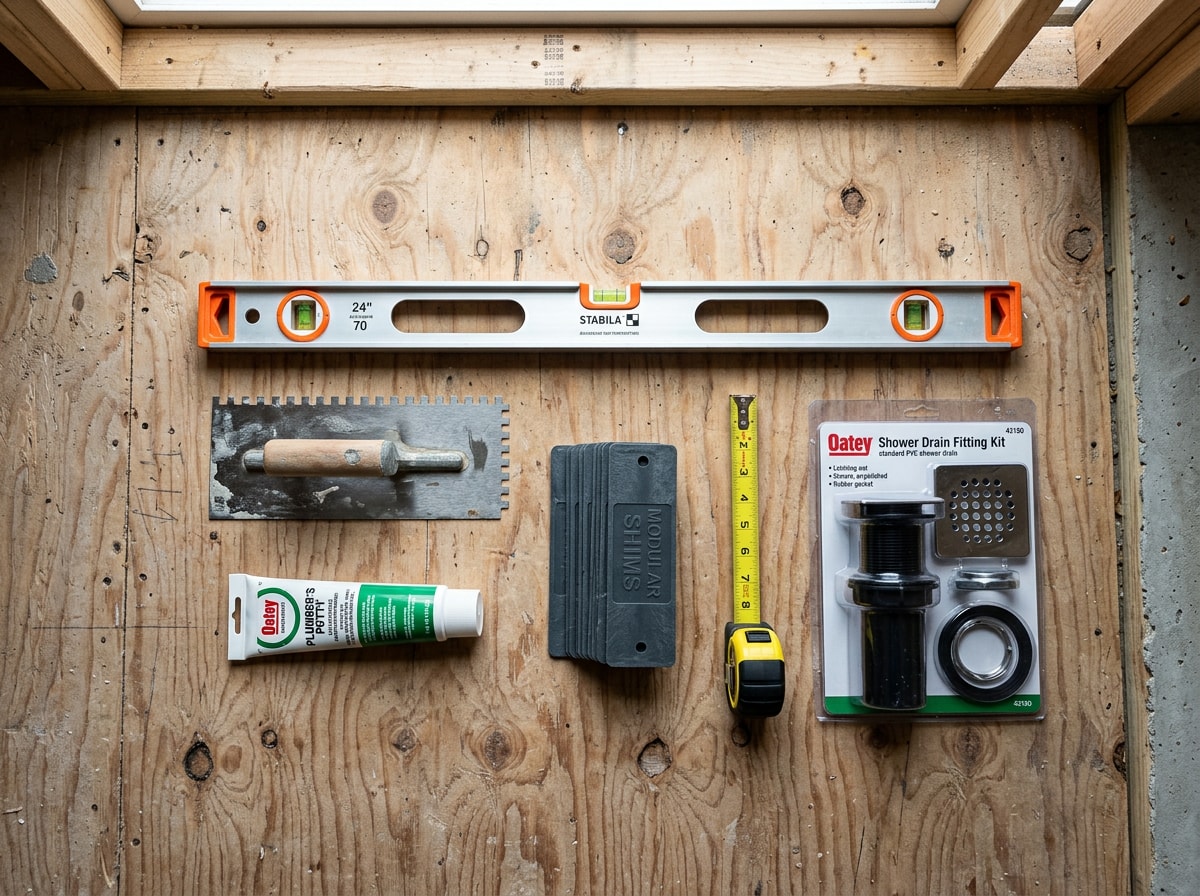
Gather the right tools and supplies before cutting into anything so you're not making mid-project hardware store runs:
- Measuring tape, pencil, and level
- Trowel and notched trowel
- Power drill and adjustable pliers
- Shims (composite shims hold up best around moisture)
- Drain-fitting kit matched to your pan
- Plumber's putty or silicone caulk
- Cardboard or scrap wood to protect the pan surface during work
- Self-leveling compound, if the subfloor needs it
Prefab pans need less hardware than custom mortar-bed builds, so confirm your supply list against the manufacturer's instructions for your specific pan type.
Measuring and Planning the Shower Space
Accurate measurements keep the rest of the job moving without surprises. Start by measuring the length and width of your shower alcove before you buy a pan.
Measure at floor level, along the back wall, and at both side walls. Older framing isn't always perfectly square, so check in multiple spots. Note the exact drain location relative to the walls, since this determines whether a standard pan size will line up or whether you'll need a custom unit.
While you're in there, clear out debris, old caulk, or leftover flooring material and clean the work area thoroughly. A clean, obstruction-free alcove makes it easier to confirm pan size and avoid surprises at the first test-fit.
Prepare the Subfloor
This step gets rushed more than any other, and it's the one most likely to cause a callback later.
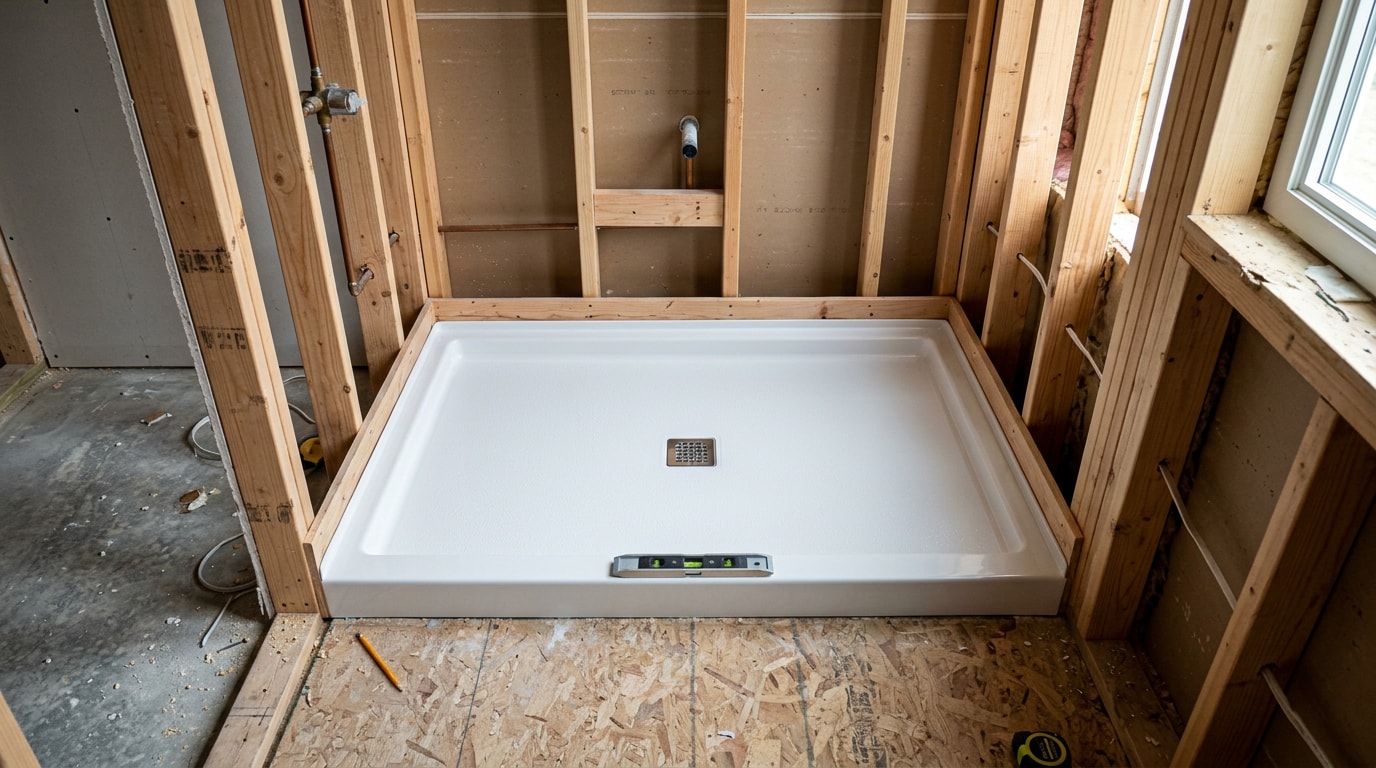
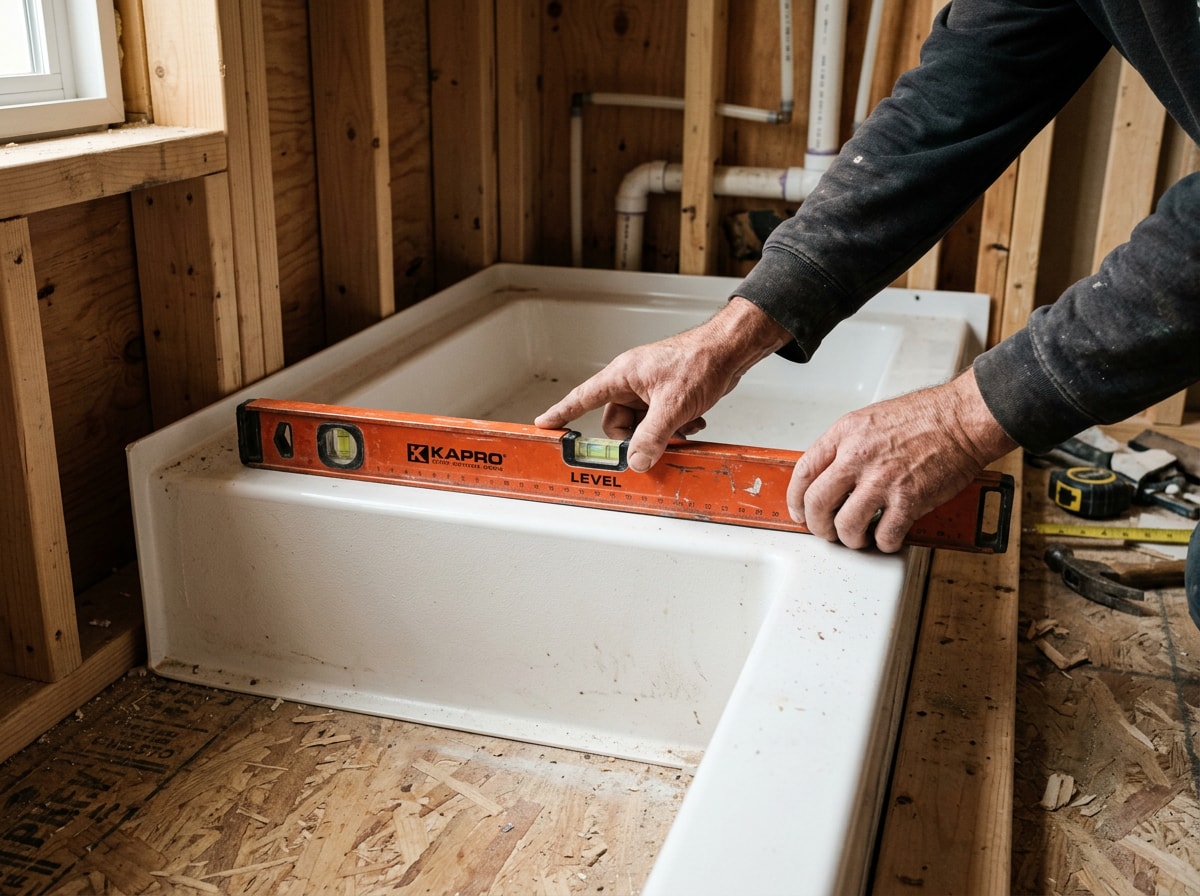
The entire bottom of the shower pan needs to rest on a flat, level surface. Check this in both directions, left to right and front to back, using a long level or straightedge rather than a short torpedo level that can miss a dip in the middle of the pan footprint.
Before worrying about leveling, confirm the subfloor itself is sound. Look for soft spots, discoloration, or a spongy feel that could point to rot or water damage from a previous leak. Damaged plywood or OSB should be replaced, not leveled over.
Henderson Land Services crews handle site prep and drainage work across Glen Rose and Somervell County, and uneven, moisture-damaged subfloors are one of the most common issues we run into on local bathroom projects, often tied to seasonal clay movement under the slab. That's worth keeping in mind before you assume a quick shim job will solve an uneven floor.
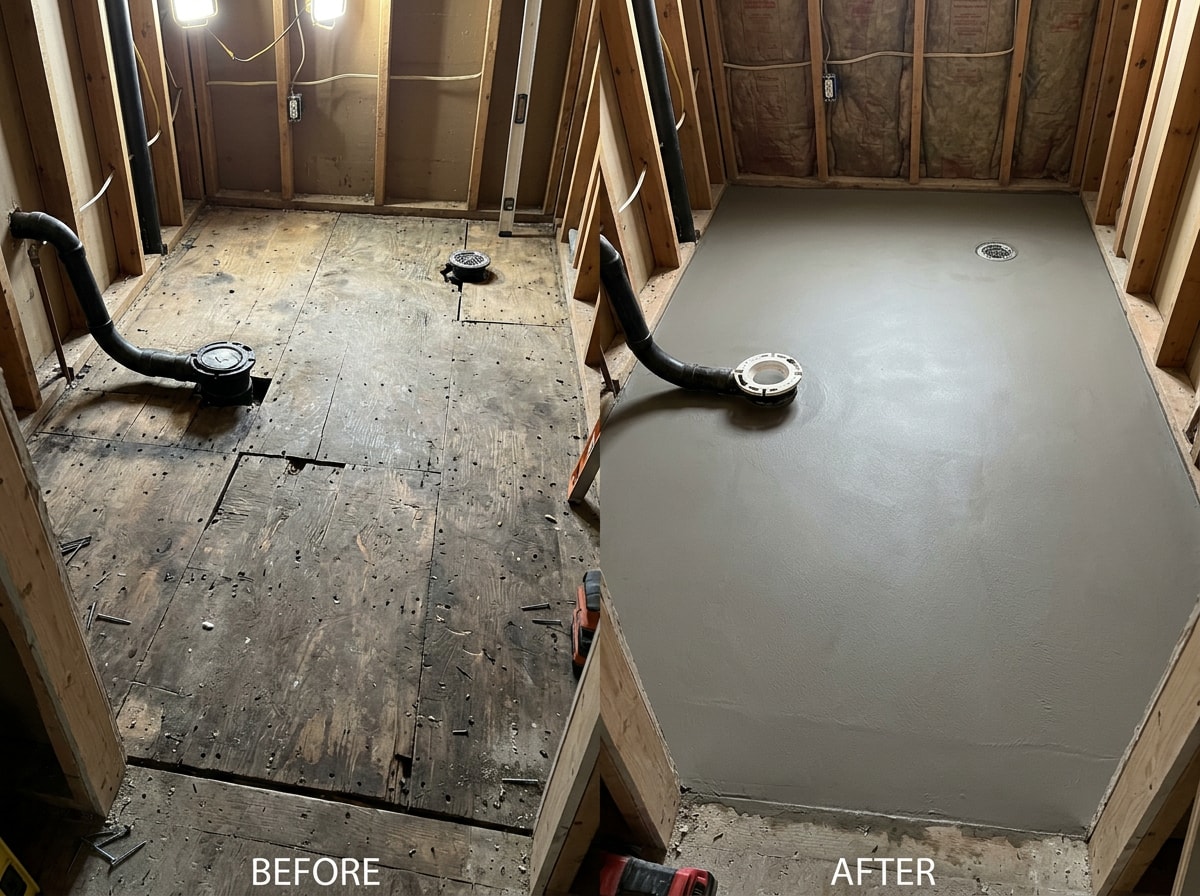
Once the subfloor is confirmed solid, you have two main options for correcting unevenness:
- Shims work well for small, localized high or low spots, particularly under a preformed pan with a rigid base. They're fast, cheap, and need no cure time.
- Self-leveling compound is the better call for broader dips or when prepping for a mortar-bed pan. It typically needs 24 hours or more to cure before anything can sit on top, so budget that time into your schedule.
How level is level enough? Ceramic tile standards stipulate that deviations in sub-floor flatness should be no greater than 1/4 inch in 10 feet for standard-size tile, tightening to 1/8 inch in 10 feet and no more than 1/16 inch in 24 inches for large-format tile and natural stone . Matching your leveling method to the substrate (OSB, plywood, or cement board) matters too, since compound adhesion varies by surface.
Dry-Fit (Test-Fit) the Shower Pan
Before any adhesive or mortar comes out, set the pan in place dry to confirm fit. This shows whether the edges sit level, whether the drain holes line up with your plumbing, and where you'll need shims before committing to a permanent install.
If the pan rocks or sits unevenly, slide shims underneath at the high and low points and mark stud locations behind the pan for later reference. Check the corners closely. Pencil in any gaps, then sand or file down high spots along the pan edges until it seats evenly against the walls.
Once satisfied with the fit, trace the pan's outline onto the subfloor and mark reference points on the studs. These marks save guesswork once mortar or adhesive is involved.
Install the Shower Drain Flange
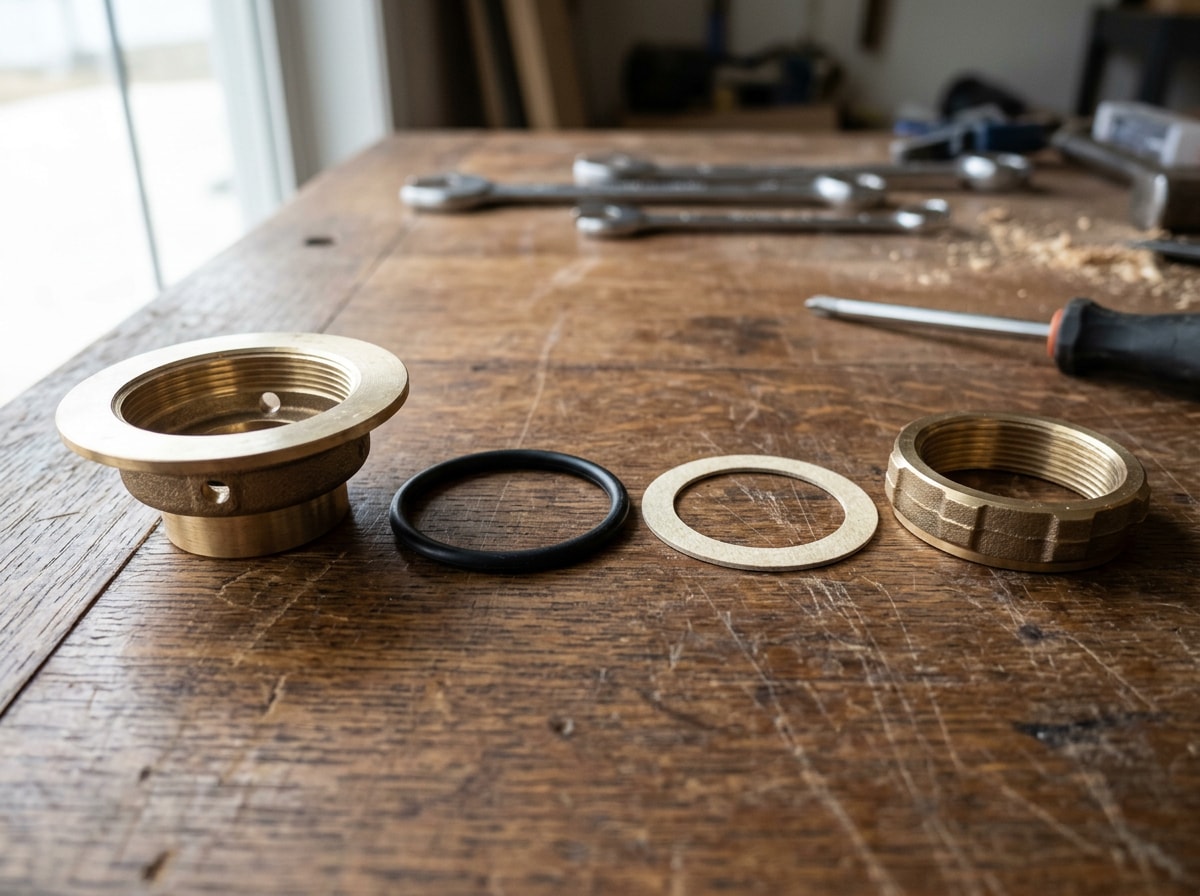
With the dry-fit confirmed, move to the drain. Test-fit the drain flange (also called the drain body) to make sure it sits flush with the shower base. Line the underside of the flange's rim with caulk or plumber's putty, following the manufacturer's instructions for your specific kit.
From underneath the pan, place the rubber or foam gasket first, followed by the paper gasket, over the drain flange's threads. Thread the locking nut on by hand to start, then snug it with adjustable pliers. Avoid overtightening. Cracking the flange here means starting the drain assembly over.
Shower drains must have an outlet size of not less than 1½ inches in diameter under the residential code most Texas jurisdictions reference, so it's worth confirming your drain-fitting kit matches that minimum before you finalize the purchase.
Set and Secure the Shower Pan in Place
With the drain assembled, set the pan permanently. If your pan has mounting feet or flanges, attach them to the studs with clips or flange locks. If it doesn't, bed it in mortar or construction adhesive instead.
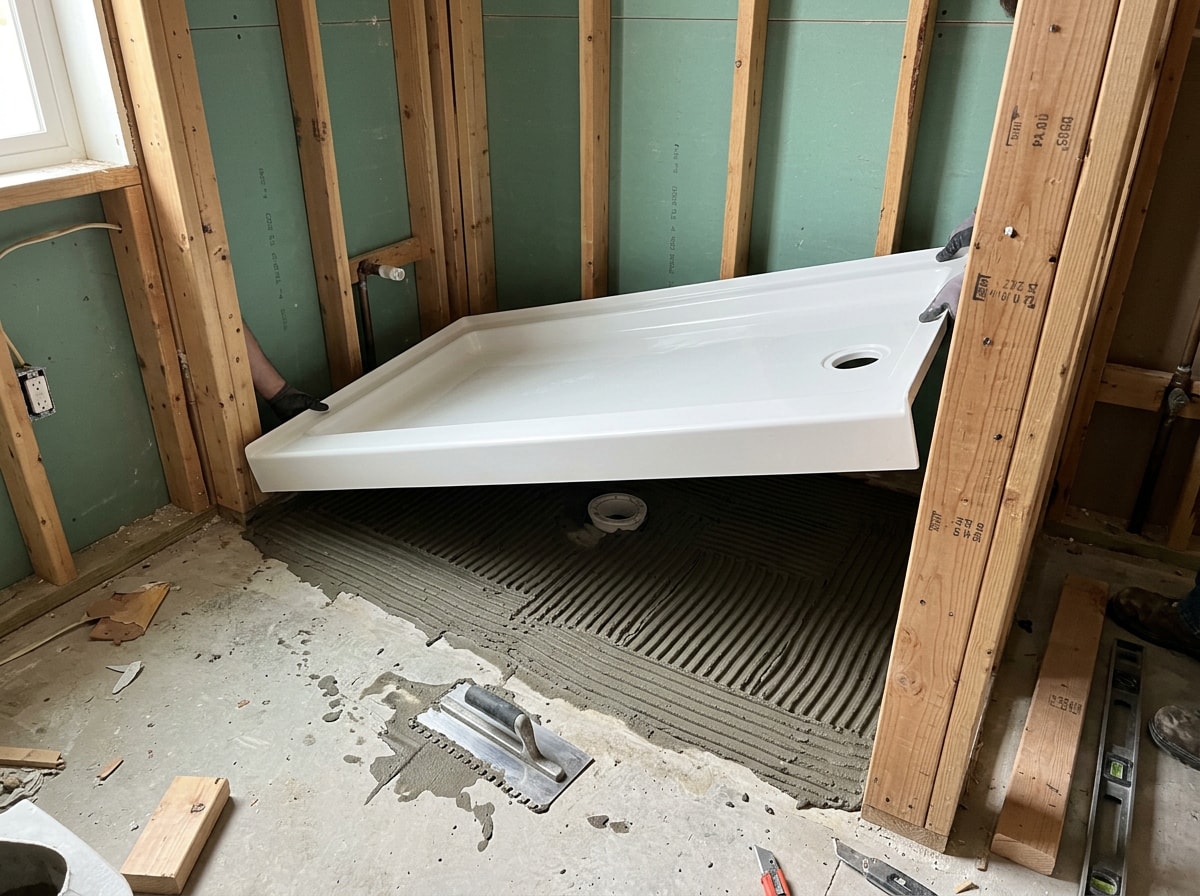
Work the pan into the mortar or adhesive so the top edge lines up with your dry-fit reference marks. Check level side-to-side and front-to-back again before the mortar sets. This is your last real chance to adjust without chipping the pan free and starting over.
Applying the Mortar Bed
For custom installations, mix mortar cement (deck mud) to the manufacturer's spec and spread it evenly with a notched trowel to roughly a 1/4-inch bed thickness. Slope the mortar gradually toward the drain cutout as you work, so water has a clear path once the pan and tile are finished.
Attach the Drain Screen
Once the mortar or adhesive has cured, snap or screw in the drain screen or strainer so it sits flush with the pan surface. A screen that sits proud or crooked traps hair and debris, which defeats the point of a clean drain assembly.
Test for Leaks
Let the mortar or adhesive cure fully per the manufacturer's instructions before putting weight on the pan or running water. Rushing this step is one of the most common causes of early failure. While you wait, double-check the drainpipe hole size against the manufacturer's spec and relocate the P-trap or waste pipe if needed to align with the new drain.
Once cured, run the flood test: fill the pan with a few inches of water, let it sit, and check underneath (if the subfloor is accessible from below) for drips or damp spots. Confirm no standing water lingers on the pan surface after draining. Pooling usually points to a slope problem that needs fixing before tile goes down.
Skipping this step risks exactly the kind of hidden damage building science guidance warns about: water leaks around tubs and showers can provide a place for biological pollutants to grow , often well behind finished surfaces before it's ever visible. The key to mold control is moisture control , which starts with a pan that actually drains.
How Much Does It Cost to Install a Shower Pan?
Cost depends heavily on pan material and whether it's a straightforward prefab swap or a custom mortar-bed build.
| Pan Type | Typical Material Cost | Notes |
|---|---|---|
| Fiberglass (prefab) | $150–$450 | Lightest, least expensive, scratches more easily |
| Acrylic (prefab) | $200–$620 | More durable than fiberglass, resists stains |
| Hot mop (custom) | $225–$500 installed | Watertight tar-and-felt membrane |
| Poured mud / custom tile | $350–$3,500 installed | Price climbs with tile complexity and labor |
Fiberglass and acrylic are the most affordable shower pan materials, while custom tile and stone options range much higher . On the professional side, shower pan replacement costs $900 to $2,300 based on shower size and design complexity , with labor making up most of that gap over a DIY install. If a permit applies in your jurisdiction, budget $150 to $500 for permit fees on top of materials and labor.
Permit rules vary by city and county in Texas, and Somervell County's requirements for interior plumbing work can differ from what applies inside Glen Rose city limits. Confirm with your local building department before you start, especially if you're relocating a drain or doing more than a straight pan swap.
Mistakes to Avoid When Installing a Shower Pan
Even experienced DIYers trip up on this project because several steps look simpler than they are:
- Skipping the dry-fit. It feels like an extra step until a misaligned drain forces a redo after mortar is already down.
- Rushing cure time before leak testing.
- Buying a drain kit that doesn't match the pipe size already in the wall.
- Eyeballing level instead of checking it properly in both directions.
Each of these tends to surface later as a slow leak, so catching them early saves real money.
DIY Shower Pan Installation vs. Hiring a Pro
Installing a shower pan is a task many homeowners can complete on their own with patience, the right tools, and realistic time expectations. That said, converting a tub into a shower or relocating plumbing is often better left to a licensed plumber, since it touches code requirements that are easy to get wrong.
If you'd rather compare the DIY math against a professional quote, you can request a free estimate and weigh the cost against the time and risk of doing it yourself. For related plumbing fixtures in the same bathroom, our shower hose buying and fitting guide for Glen Rose covers another common piece of this kind of remodel.
Henderson Land Services also handles drainage solutions for homes across Glen Rose, TX where grading or foundation moisture is contributing to the subfloor problem in the first place, not just the fixture on top of it. Visit our homepage to see the full range of excavation, septic, and site work we handle in the area.
FAQ
Can I Install a Shower Pan Myself?
Yes. With the right materials and careful attention to instructions, most homeowners can treat a shower pan installation as a weekend project. Call a professional instead if you're installing a custom tile-ready pan or need to relocate plumbing, since both raise the risk and complexity considerably.
How Long Does It Take to Install a Shower Pan?
A custom shower pan installation typically takes 2–3 days once you account for framing prep, drainage work, the mortar bed, waterproofing, and cure time. A prefab or preformed pan moves much faster, often finishing in a single day for an experienced DIYer.
How Do I Waterproof a Shower Pan?
A waterproof liner or membrane sits beneath or integrated into the pan to stop water from reaching the subfloor. Sealing the edges where the pan meets the walls, using the method specified for your pan type, closes off the remaining gaps where leaks typically start.
Can I Tile Over a Shower Pan?
Tile-ready and custom mortar-bed pans are built to accept tile directly on their surface. Finished preformed pans, by contrast, already have a complete acrylic or fiberglass surface and aren't designed to be tiled over.
Do I Need a Permit to Install a Shower Pan?
Often, yes, if the work involves moving or modifying plumbing, though rules vary by city and county. Check with the Glen Rose or Somervell County building department before starting, since a straight pan swap on existing plumbing may be treated differently than a relocation.
How Much Does a Shower Pan Cost to Install?
Material costs run roughly $150 to $620 for prefab fiberglass or acrylic pans, and up to $3,500 for a custom tile or mud-set pan. Professional installation, including labor, typically runs $900 to $2,300 depending on complexity.